
How a Dry-Bulk Bagging Line Simplifies Sack Handoff Before Palletizing
A Russian dry-bulk plant does not usually lose time at the filler. It loses time when a woven sack leaves the machine crooked, needs to be corrected by hand, and then has to be pushed again into the sewing or palletizing flow. This page shows why a compact bagging line built around a QZK-1200-style station fits that problem better than a loose, floor-level setup.
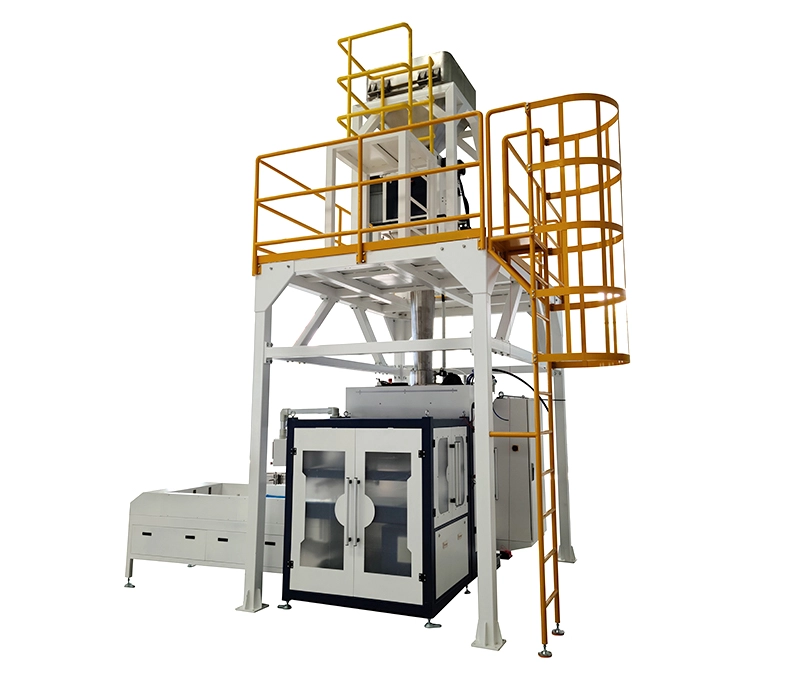
The real bottleneck was the transfer point, not the filling point
For dry-bulk products such as salt, grain, feed, or similar free-flowing materials, the machine can fill correctly and still leave the plant with a handling problem. The sack may land off-center, the discharge area may feel cramped, and operators often end up straightening the bag by hand before the next step. That is where throughput disappears.
This project needed a line that kept the bag path visible, protected, and easy to manage. The answer was not a more complicated filler. It was a cleaner machine layout: elevated steel structure, enclosed cabinet, safe access ladder, and a controlled outfeed route that helps the plant move from filling to stacking with less correction.
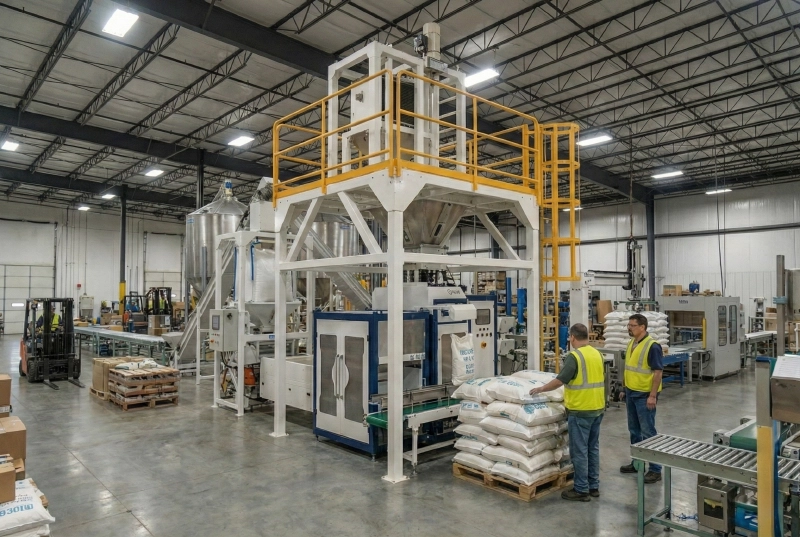
When the discharge end is too open or too low, sacks wander, operators intervene too often, and the line starts depending on manual correction instead of mechanical control.
Why this layout fits a Russian dry-bulk plant
The front view shows the hardware logic clearly: a raised steel frame, a compact enclosed body, and a safety cage ladder that keeps the working zone organized. That is useful on a site where floor space is shared with forklifts, pallet movement, and bag staging. The structure gives the plant a defined bagging center instead of an improvised transfer area.
The running photo matters just as much. It shows sacks leaving the station into a real operating workflow, with operators working at the edge of the line rather than inside it. That is the practical advantage of a dry-bulk bagging line designed as a controlled transfer point: the machine does the alignment work first, and the people handle the downstream flow second.
bpmpack Engineering Insight: If the sack is unstable at the bagging station, the palletizing area only inherits the same problem at a larger scale. The right fix is to tighten the machine-side handoff with a clearer frame, a protected cabinet, and a disciplined conveyor exit.
What the photos prove about the line structure
The hero image proves the structure: elevated steel framework, safety cage ladder, and an enclosed cabinet are not decoration. They create a stable working envelope around the machine, which is exactly what a bulk plant needs when it runs long shifts and depends on repeatable bag handling.
The second image proves the process: the line is not just a static frame. It is an operating station with a conveyor-based handoff and visible operator interaction at the correct point in the flow. That makes the line easier to integrate with sewing, stacking, or palletizing without turning the floor into a correction zone.
| Plant need | What the line provides | Photo evidence |
|---|---|---|
| Cleaner sack handoff | Controlled discharge path and visible working zone | Front view of the elevated station |
| Safer maintenance access | Steel frame, ladder access, enclosed cabinet | Hero image structural details |
| Smoother downstream stacking | Conveyor-based outfeed with operator support | Running station and sack stacking scene |
Need a dry-bulk bagging line that matches your product flow?
Send us your material type, bag size, target output, and the next step after filling. bpmpack can map the machine layout to your sewing, stacking, or palletizing process and keep the sack handoff under control from the start.
Request a layout review English
 Русский